We love growing and sharing fun, unique crops like Imperial Star Artichokes, Short-Toothed Mountain Mint, Mexican Sour Gherkins, and Cactus-Flowered Zinnias. But lately, we’ve gotten a lot of questions and comments from folks on Facebook wanting more information about staple crops or crops that could make up more bulk in a family’s diet.
Understandably, the memory of the Covid-19 pandemic, the rising cost of living, and people’s desire to control part of their own food supply is driving a renewed interest in seed saving, chicken keeping, and history-inspired “victory gardens.”
Whether you’re interested in lowering your grocery bill, keeping more of your diet organic, reducing your food miles, or improving your family and community’s self-reliance, here are some high yielding varieties to consider for your modern victory garden.
What Staple Crops Should I Grow?
There is no one-size fits all staple crop. What you should grow in your garden to maximize production will depend on your family’s tastes, your climate, and your garden’s size and soil conditions. What you plant also depends on the time of year.
Your family’s taste and what you will actually use should be one of the most important considerations. It’s likely that your family will maintain the ability to visit the grocery store, so if you plant a ton of butternut squash and no one enjoys it, it will probably go to waste. Similarly, you also want to be mindful of what you have the time to process. Cucumbers are highly productive, but if you don’t have time to pickle them, you’ll quickly end up with a lot of waste if you over-plant.
What grows well in your area will also play a huge role in determining what crops you should select to maximize production. If you’re new to gardening, it’s helpful to talk to neighbors or a local master gardener group for suggestions. A soil test is also a good idea before you plant.
Space is also a factor. If you just have a few raised beds, planting several successions of quick crops like summer squash, bush beans, and collards will provide a lot more food than waiting for a couple of winter squash plants to mature over a long season.
Think about what produce your family purchases most, and then look at this list and see what crops make sense in your garden.
Varieties to Maximize Production
There are hundreds of varieties to choose from, but these are a few of our favorites for their ease of growing, good production, and disease tolerance. They are divided into two categories: long-season crops, which you can generally only plant once in spring, and short-season crops, which are often ideal for succession planting and fall gardens.
Long Season Crops
Here are some of the long-season crops that are highly productive. Besides a long season, many of them also require ample space and may be better suited to large gardens.
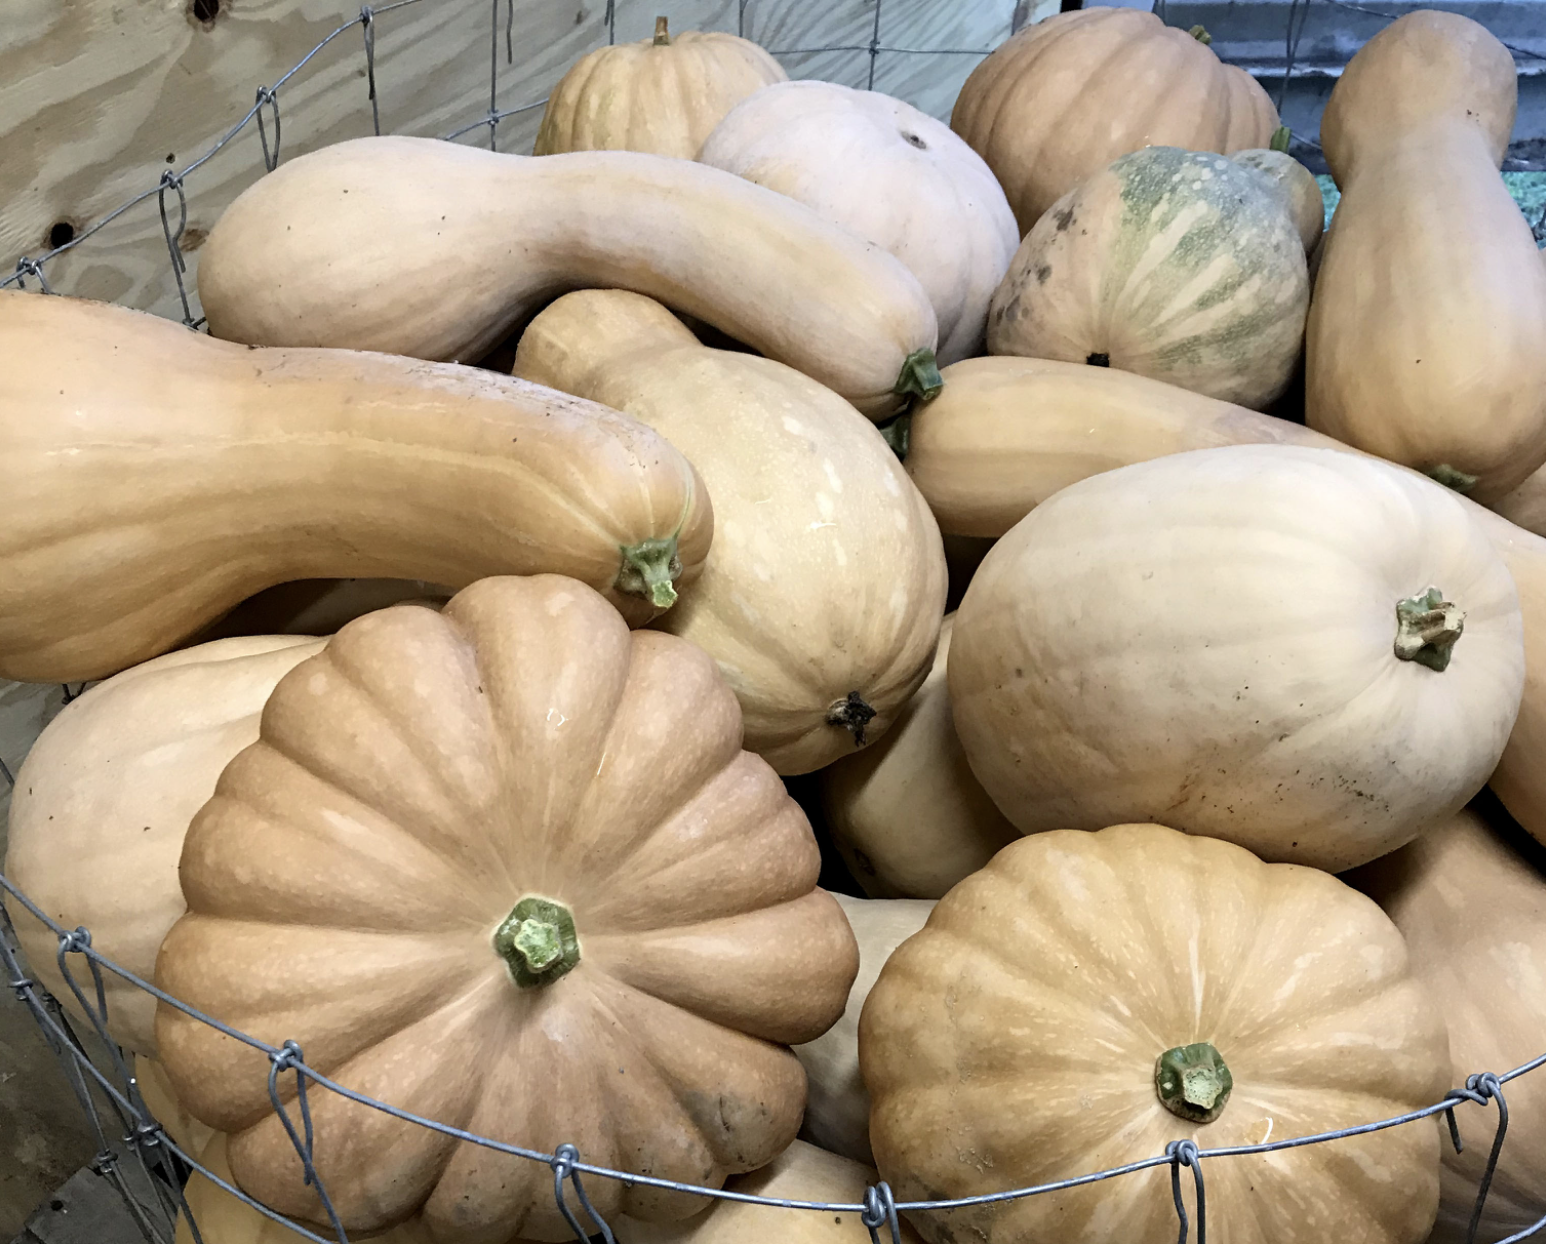
Magic Cushaw Winter Squash (110 days)
“We named it Magic Cushaw because it is so good and always pulls through, resistant to most everything, and now it is the only winter squash we grow,” writes grower Julia Asherman.
This unique squash produces an amazing mix of shapes and sizes, including round, oval, cheese-type pumpkins, and long-necked ones. Each fruit weighs about 5 to 30 pounds and stores well.
Beauregard Sweet Potatoes (100 days)
Beauregard is among the most popular sweet potato varieties in the United States, and for good reason. It’s reliable, highly productive, and disease-resistant. Beauregard has dense orange flesh that’s sweet, creamy, and nutty when boiled or baked.
Developed by Louisiana State University, Beauregard Sweet Potatoes are a great way to maximize your calories per acre in a home garden, particularly in the Southeast. They also keep well in storage.
*Growers in northern climates may have better production from traditional or “Irish” potato varieties.
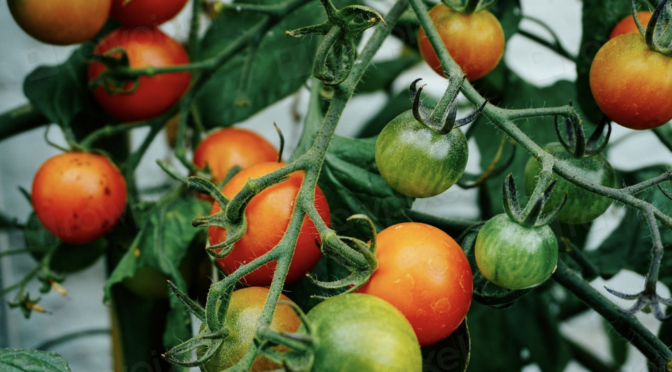
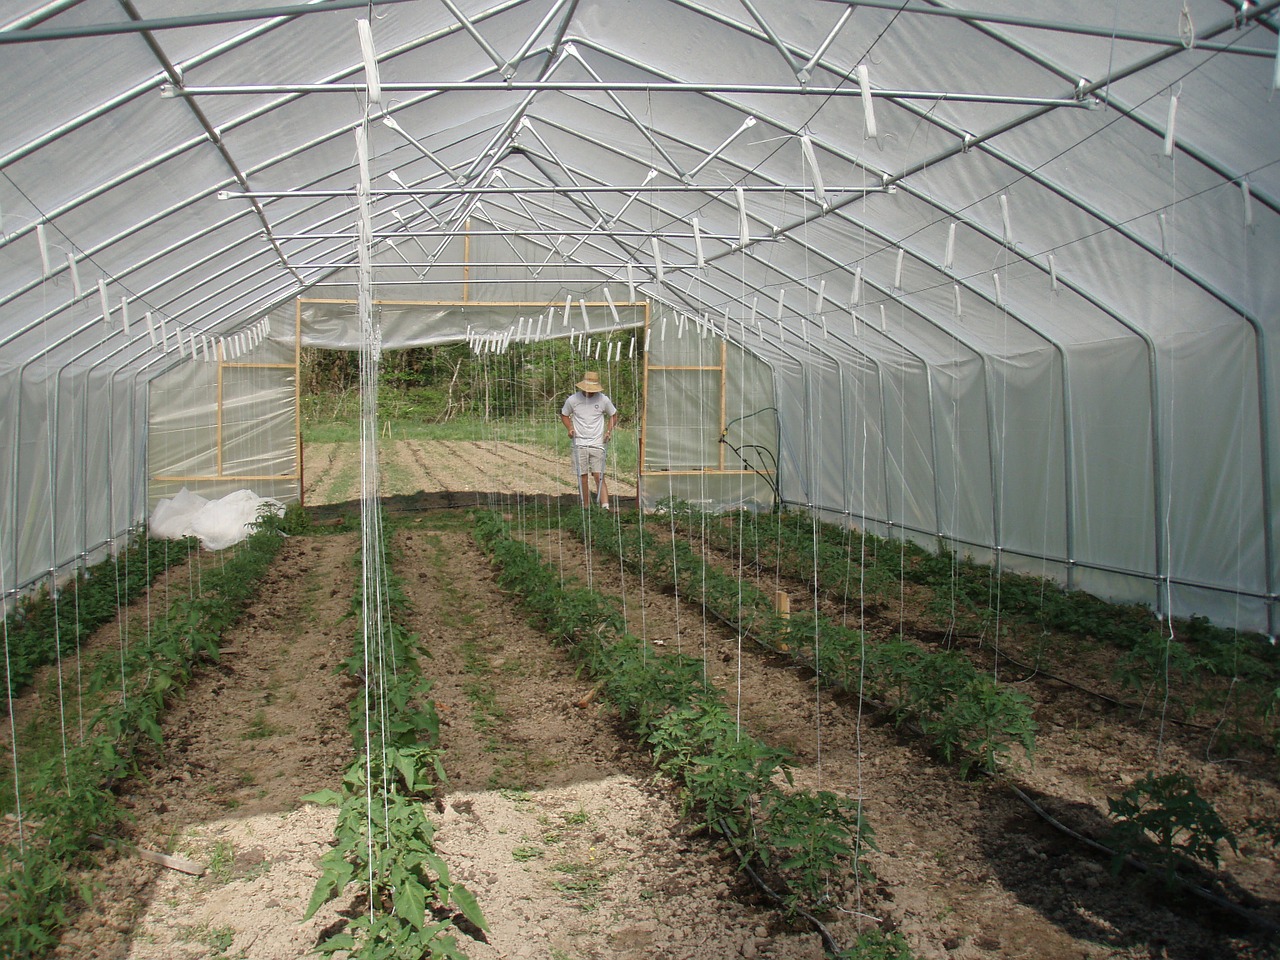
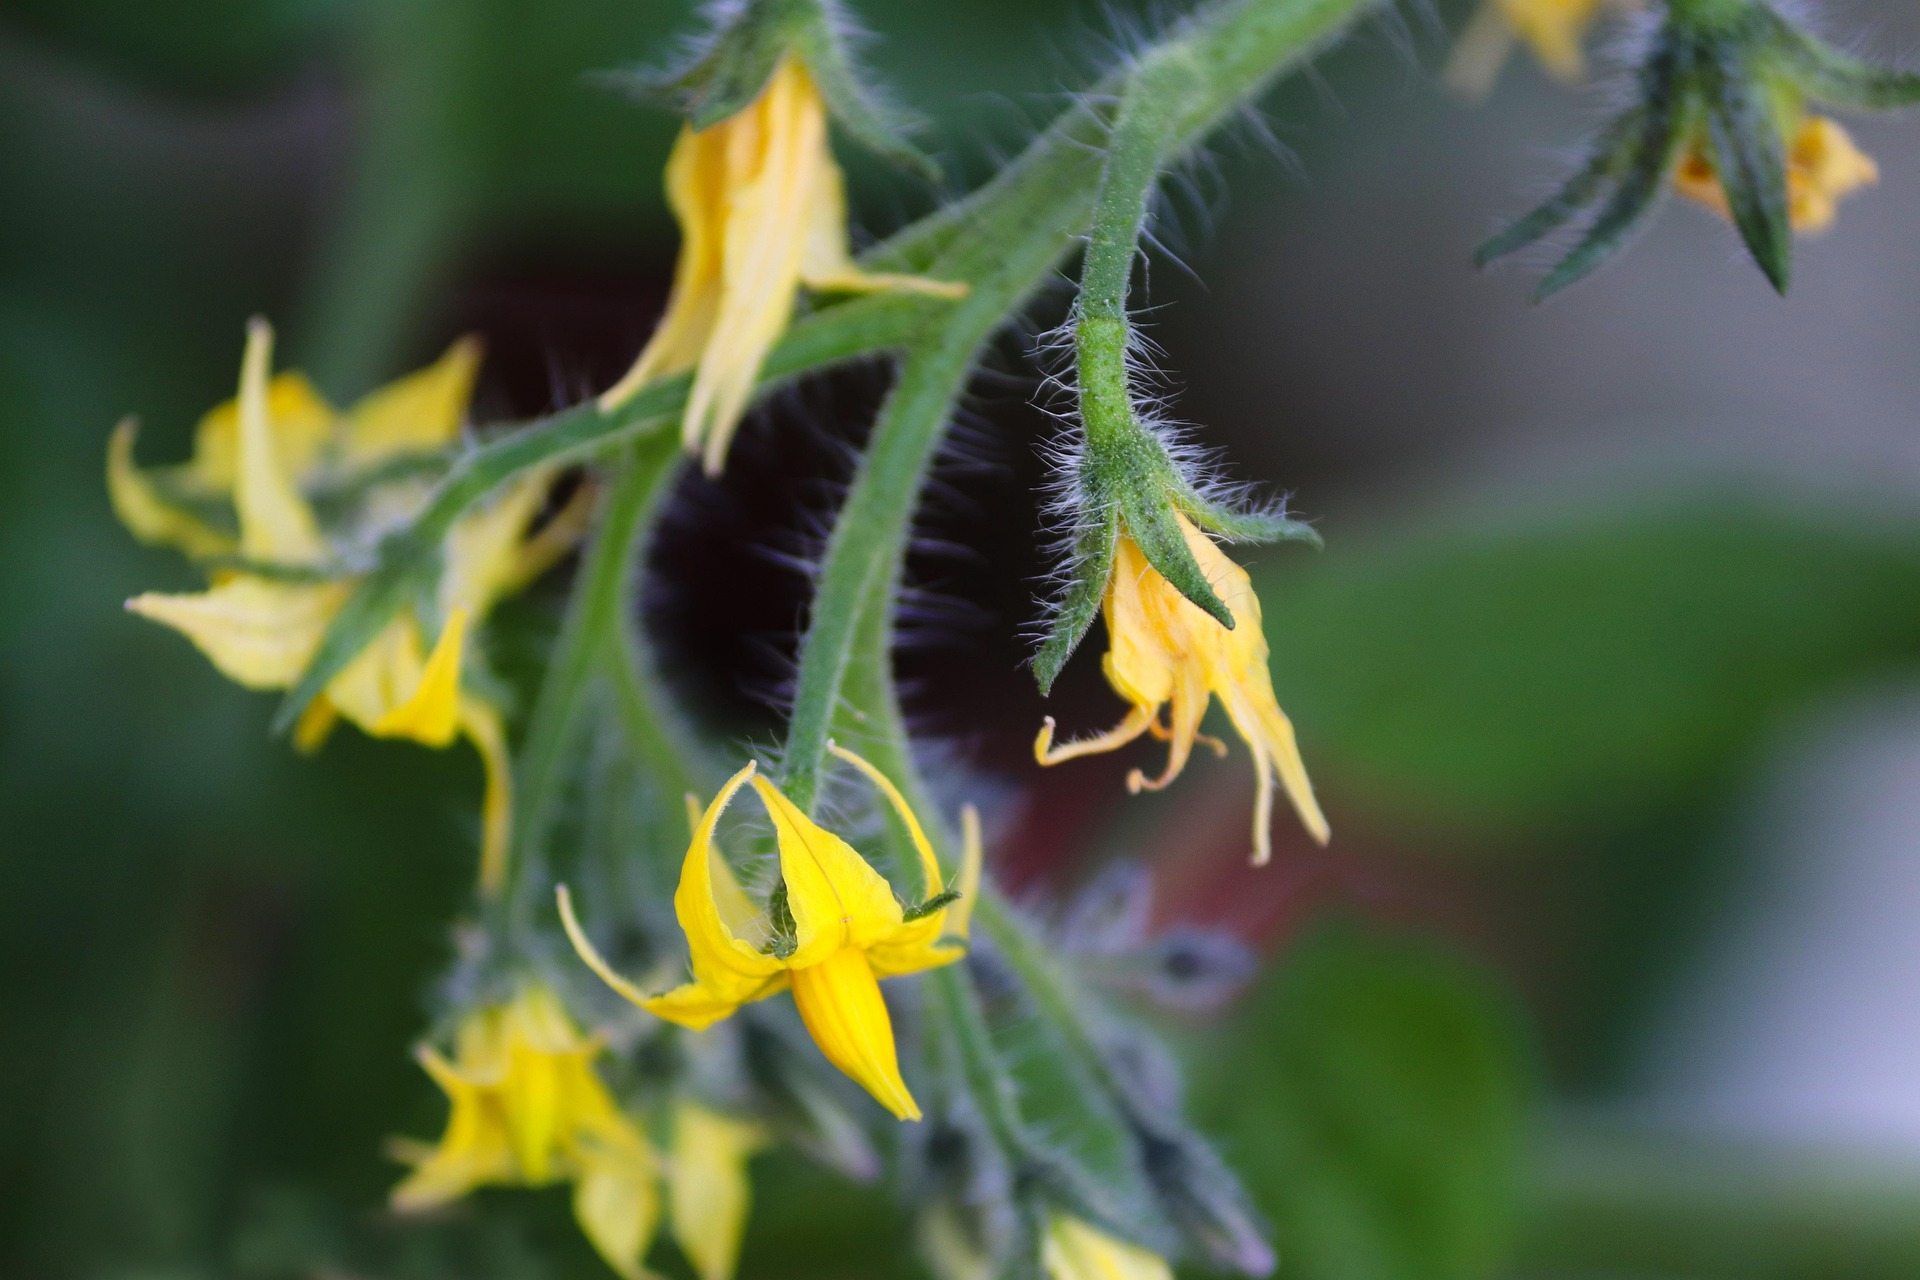
Amish Paste Tomatoes (80 days)
Sometimes the classics are classics for a reason. Amish Paste tomatoes are the largest paste tomatoes we offer, and they have a robust flavor that matches their size! They’re ideal for canning and make an incredible sauce. They’re also juicy enough to use as a slicing tomato.
Amish Paste produces tall plants and heavy yields, so you’ll need a sturdy trellis to keep up with them. Use appropriate spacing and prune plants to improve air circulation and keep the plants healthy.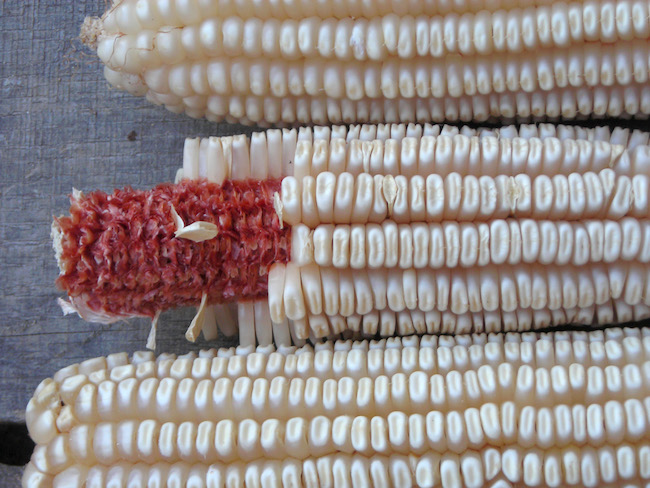
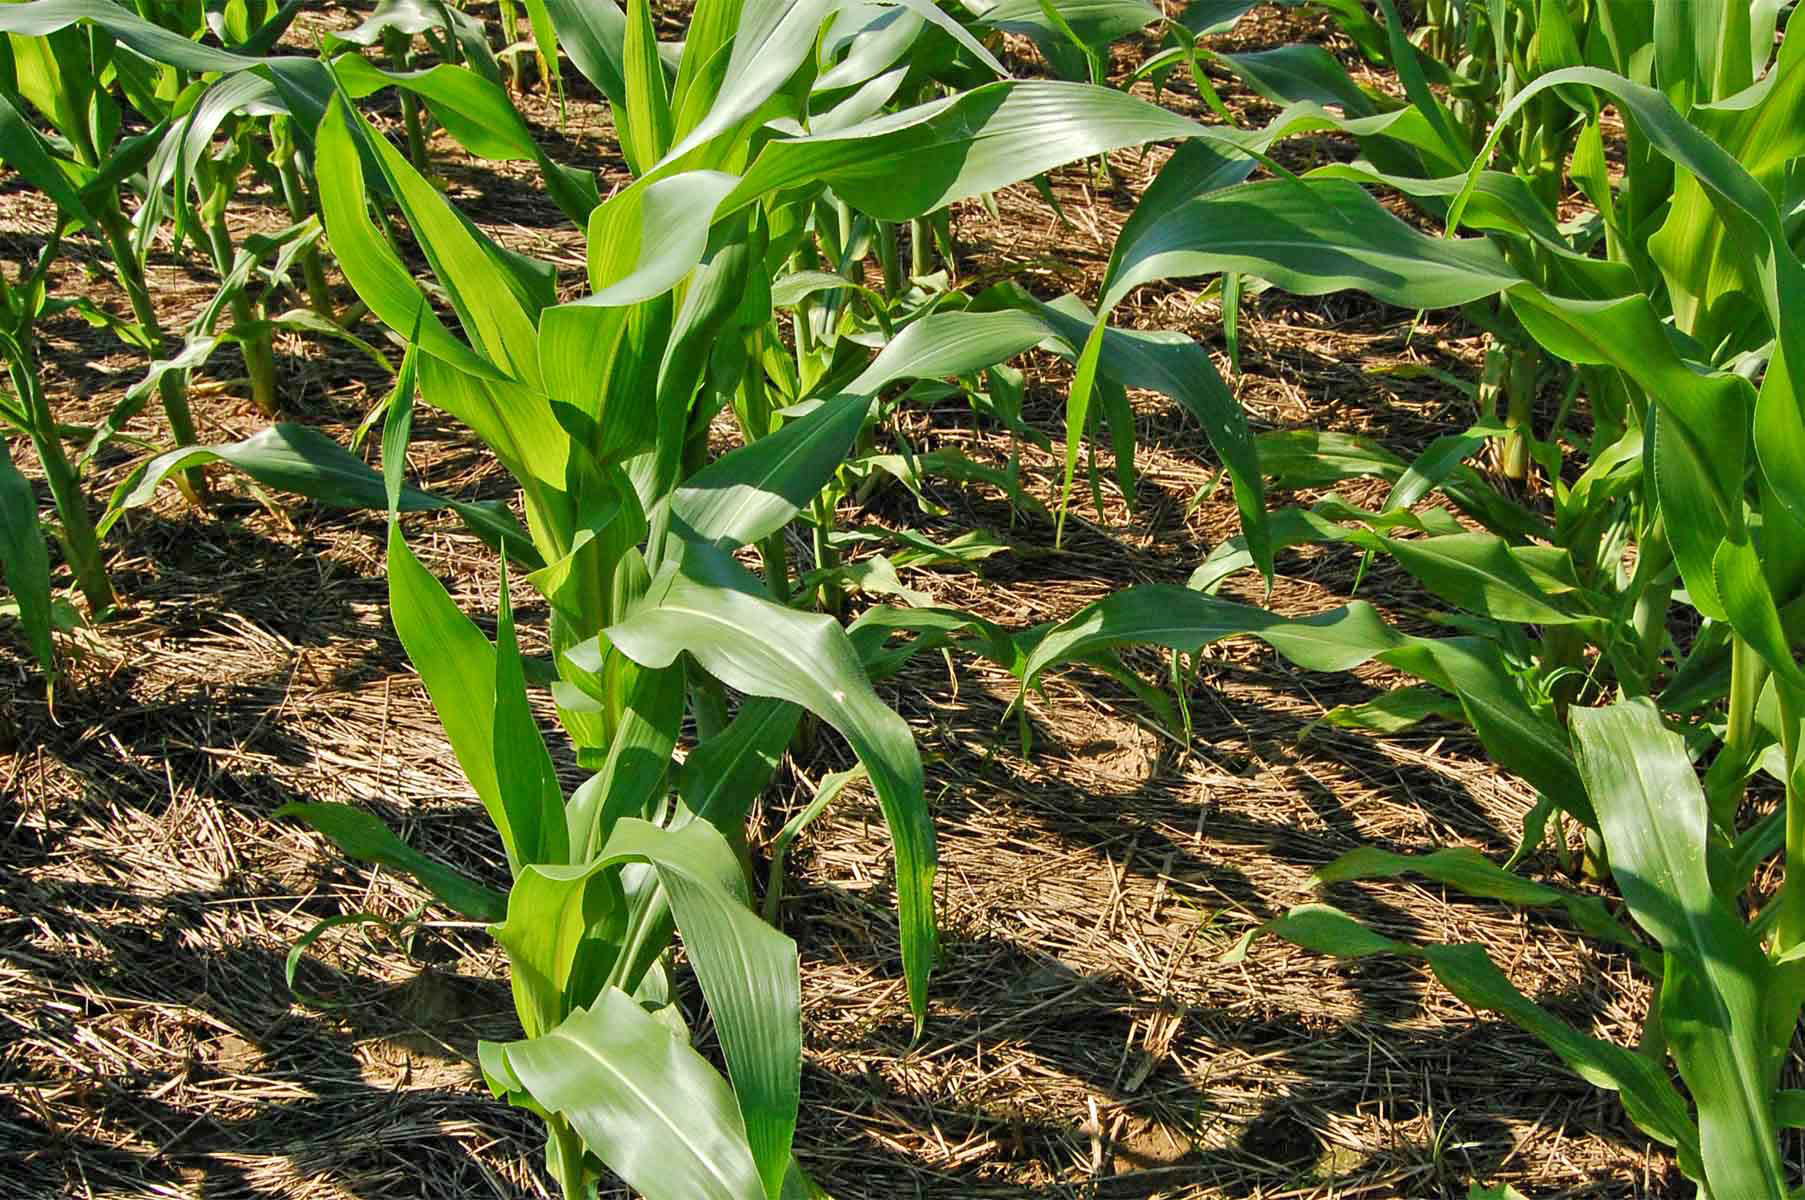
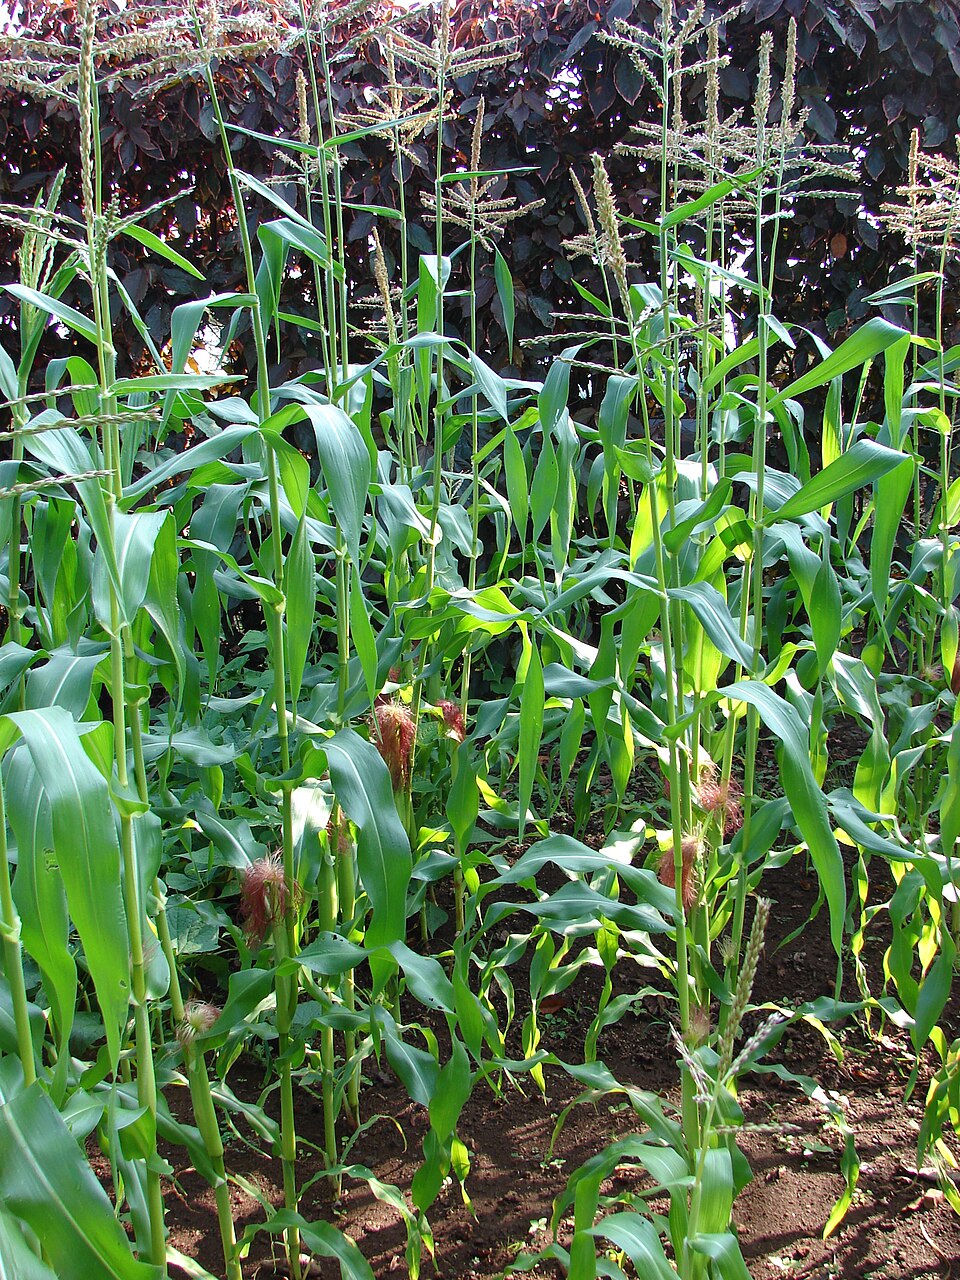
Tennessee Red Cob Dent Corn (120 days)
This heirloom corn dates back to before 1900 and is always high-yielding, producing up to 150 bushels per acre here in Virginia. Our original seedstock was supplied by Harold Jerrell, who reported that in 1995 this variety produced a good crop on only 2 inches of rain from mid-June until the first of September. It was one of the driest years on record in his growing area in Virginia and was the only variety that produced.
Tennessee Red Cob grows 10 to 13-foot sturdy stalks that you can use to support pole beans. Each stalk produces one or two 6 to 9 inch ears per stalk. This corn makes delicious cornbread and polenta.
*Growers in northern climates may have better luck with a flint variety like Floriani Red Flint, which is better suited to cool spring soil.
Iron and Clay Southern Peas (60-100 days)
Today, farmers often plant these vigorous, drought-hardy plants as nitrogen-fixing cover crops or grown for animal fodder. However, they’re also a tasty, highly productive staple crop.
Iron and Clay Peas came to this region through the forced migration of enslaved Africans and have long been grown as crops of survival and resilience. After the Civil War, Iron and Clay peas helped sustain newly freed Black communities, a history documented in George Washington Carver’s 1908 Cookbook of Field Pea Recipes.
You can enjoy the peas at several stages and use them as a short or long season crop. In about 60 days, you can harvest the peas as snap peas/green pods before the seeds swell in the pods. For green shell peas, harvest when the pods are filled but still plump and soft. In about 100 days, when the seeds turn brown and dry, you can harvest them for storage and winter use.
Short Season Crops
Here are some short-season crops that are highly productive. Many of these produce over a long season, are great for succession planting, or will grow as a fall crop. These are perfect for starting now if you still have space to fill in your garden.
Tromboncino Summer Squash (60 days)
This reliable Italian heirloom produces long fruits that curve to a bell at one end. When they’re young and light green, they make a tasty summer squash, but they also mature to tan with flavor much like a butternut. These dual-purpose, moschata type squashes bear all season in the south where others fail, thanks to their resistance to vine borers.
Tromboncino squash grow on long vines, which you can trellis for easy harvesting. For summer squash, harvest the fruits when they’re 8 to 10 inches long for tender flesh and sweet flavor. Allow them to mature full on the vine until they’re hard and tan for butternut-type squash and winter storage.
Tiger Eye Bush Bean (55 to 80 days)
Tiger Eye Bush Beans are a productive crop that offers a lot of versatility. At around 55 days, harvest and enjoy them as snap beans or wait until the pods fill out and use the white beans as shelly beans. Finally, you can let them full mature and dry to their beautiful pattern.
At their mature dry bean stage, Tiger Eye beans have a similar flavor to pinto beans. They’re rich and deliciously creamy. While cooking, their skins melt away, perfect for refried beans.
Georgia Cabbage Collards (70 days)
Georgia Cabbage Collards are a standout from the Heirloom Collard Project. The seeds originally came from Bobby Prevatte, whose grandparents grew them near Lumberton, NC.
These plants are vigorous, high-yielding, and hardy to 20°F. Georgia Cabbage Collards produce semi-prostrate plants with a moderate tendency to head. The sweet and tender yellow-green leaves have a rich flavor some describe as nutty and cabbage-like.
Straight Eight Cucumbers (57 days)
Straight Eight Cucumbers were the All-American Selection winner in 1935, and they’re still highly dependable, productive, disease-resistant, and high-yielding today. They produce very uniform, deep green, 8-inch fruits about 2½ inches in diameter with an exceptional flavor.
While Straight Eights are a slicing cucumber, they also make excellent pickles if you pick them small. For canning, harvest them when they’re 4 to 5 inches long.
Early Flat Dutch Cabbage (85 days)
Early Flat Dutch is an old heirloom that dates to pre-1875 or possibly pre-1855. It’s one of our favorite, reliable varieties for the Southeast and Mid-Atlantic thanks to its incredible heat-resistance.
This cabbage produces large, flat heads weighing 6 to 10 pounds each. Early Flat Dutch is a great sauerkraut variety and the best variety for storage.
These are just a few of the great varieties you can use to produce a massive harvest. There are also many other high-yielding crops you could include in your garden, like pole beans, carrots, beets, turnips, rutabagas, or sorghum. You may need to experiment for a few seasons to find what works best for your taste, climate, and soil. Happy growing!